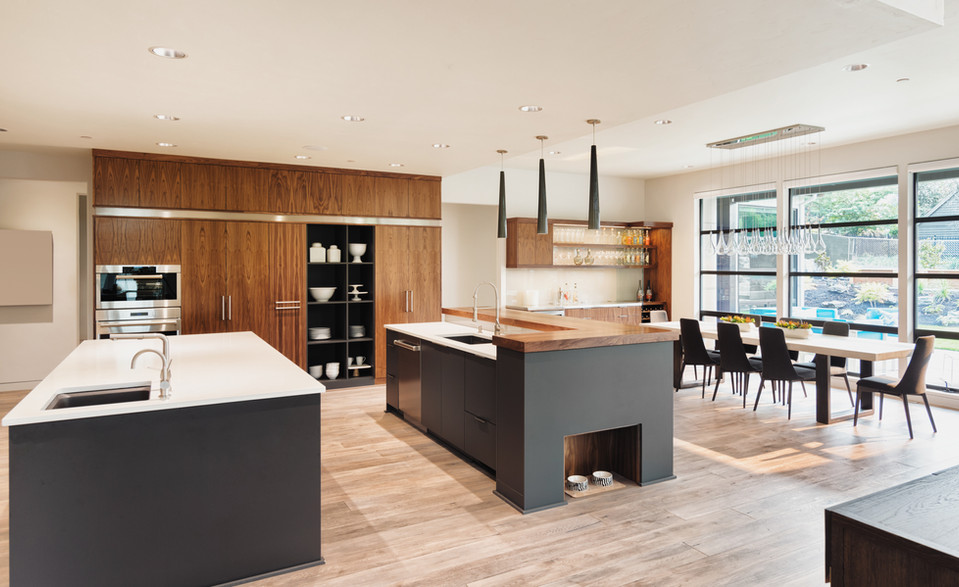
Oaprire floating shelves are a popular choice for homeowners across Orlando and Central Florida, known for their sleek, minimalist design and incredible ability to transform a space. Whether you're aiming to declutter your kitchen, showcase cherished decor in your living room, or add functional storage to a bedroom, these shelves offer a modern aesthetic that complements any interior design. Their beauty lies in their hidden support system, creating the illusion that the shelves are effortlessly 'floating' on your wall.
However, achieving that perfect, seamless float isn't always as simple as it looks. The successful installation of Oaprire floating shelves requires precision, the right tools, and an understanding of wall structures – especially with the diverse construction types found throughout Central Florida. A poorly installed floating shelf can quickly go from a design dream to a sagging nightmare, posing risks to your belongings and the shelf itself.
This guide will walk you through the essential steps and considerations for installing Oaprire floating shelves, highlighting why professional expertise from a company like Inka Installation can make all the difference in ensuring a beautiful, sturdy, and lasting result for your Central Florida home.
Understanding Oaprire Floating Shelves and Their Appeal
Oaprire floating shelves typically feature a robust internal bracket system that mounts directly into your wall. The shelf then slides over this bracket, concealing all hardware. This design is what gives them their signature 'floating' appearance, making them ideal for:
- Maximizing Space: They don't require bulky external supports, making them perfect for smaller rooms or tight corners.
- Modern Aesthetics: Their clean lines and minimalist profile fit beautifully into contemporary, transitional, and even some traditional designs.
- Display & Storage: Excellent for showcasing artwork, plants, books, or providing accessible storage for everyday items.
The key to their performance lies entirely in the installation. Without a secure, level, and well-anchored bracket, even the highest quality Oaprire shelf won't live up to its potential.
Essential Pre-Installation Checklist
Before you even think about drilling, thorough preparation is paramount. This phase ensures safety, accuracy, and a smooth installation process.
1. Planning and Placement
- Location, Location, Location: Carefully decide where your shelves will go. Consider what you'll place on them. Will they be in a high-traffic area? How will they interact with existing decor or furniture?
- Weight Capacity: Understand the weight limits of your Oaprire shelves and, more importantly, the capacity of your wall and chosen anchors. Heavy items require robust support.
- Aesthetics & Leveling: Use a pencil to lightly mark your desired shelf height and length. Use a long level to ensure your marks are perfectly straight. Remember, even a slight tilt will be noticeable.
2. Tools and Materials You'll Need
Having the right tools on hand will save you time and frustration:
- Stud Finder: Absolutely crucial for locating wall studs or other structural blocking.
- Long Level: For ensuring perfect horizontal alignment.
- Measuring Tape: For precise measurements.
- Pencil: For marking drilling points.
- Drill & Drill Bits: Appropriate sizes for pilot holes and mounting hardware. For concrete block walls common in Central Florida, you'll need a hammer drill and masonry bits.
- Safety Glasses: Always protect your eyes, especially when drilling.
- Screwdriver: For tightening any set screws on the shelf itself.
- Wall Anchors (if necessary): If you can't hit a stud, heavy-duty toggle bolts or molly bolts designed for drywall are essential. Never rely on standard plastic anchors for floating shelves.
- Shims: Thin pieces of wood or plastic, useful for correcting slight wall imperfections.
Step-by-Step Oaprire Floating Shelf Installation Guide (General Principles)
While specific instructions may vary slightly with your particular Oaprire model, the core principles remain consistent:
Step 1: Mark Your Shelf Locations
Using your level and pencil, mark the exact desired height and horizontal line for your shelf. If installing multiple shelves, ensure consistent spacing and alignment.
Step 2: Locate Wall Studs or Structural Blocking
This is the most critical step for a secure installation. Use your stud finder to locate the center of the wooden studs behind your drywall. Mark these locations on your horizontal line. For Central Florida homes with concrete block construction, you'll be drilling directly into the block, so stud finding isn't applicable, but understanding your wall material is key.
Pro tip: Always aim to anchor at least one, and ideally two, mounting points of your Oaprire bracket into a wall stud. This provides the strongest support for your floating shelves, significantly increasing their weight capacity and stability. If studs aren't available at your desired location, heavy-duty toggle anchors are the next best option, but always prioritize studs.
Step 3: Mark Drill Points for the Bracket
Hold the Oaprire mounting bracket against your marked line, ensuring it's level. Transfer the drill points from the bracket onto the wall, making sure they align with your stud marks where possible.
Step 4: Drill Pilot Holes
Using the appropriate drill bit size (consult your Oaprire instructions), drill pilot holes at your marked points. For studs, ensure the bit is slightly smaller than your screw diameter. For concrete block, use a masonry bit and hammer drill, then insert appropriate concrete anchors.
Step 5: Mount the Bracket
Securely attach the Oaprire mounting bracket to the wall using the provided hardware or heavy-duty screws/anchors. Double-check that it is perfectly level before fully tightening all screws. An unlevel bracket means an unlevel shelf.
Step 6: Slide the Shelf Onto the Bracket
Carefully slide the Oaprire shelf onto the rods or arms of the mounted bracket. It should fit snugly. If it's too tight, gently tap it with a rubber mallet. If too loose, consult the manufacturer's instructions for any adjustment mechanisms.
Step 7: Secure the Shelf (If Applicable)
Many Oaprire floating shelves include small set screws on the underside of the shelf. These screws are designed to secure the shelf to the bracket, preventing it from sliding off. Tighten these screws gently but firmly.
Common Challenges and How Professionals Handle Them
Even with the best instructions, DIY installation can present unexpected hurdles:
- Uneven Walls: Common in older Central Florida homes, uneven walls can make a perfectly level shelf appear crooked. Professionals use shims to subtly adjust the bracket, ensuring the shelf looks straight.
- Hidden Obstacles: Drilling into electrical wires or plumbing pipes is a serious hazard. Professionals use advanced detection tools and have the experience to anticipate and avoid these issues.
- Inadequate Anchoring: Incorrectly chosen or installed anchors can lead to sagging or collapse. A professional understands the nuances of different wall materials – from drywall to the prevalent concrete block construction in Orlando – and selects the most appropriate, heavy-duty anchors for maximum security.
- Weight Miscalculation: Overloading shelves is a common mistake. Experts can advise on realistic weight capacities based on your specific wall and installation method.
Why Choose Professional Oaprire Floating Shelf Installation in Central Florida?
While DIY can be rewarding, professional installation offers unparalleled benefits, especially for a crucial element like floating shelves in your home:
- Precision and Expertise: Our skilled carpenters at Inka Installation possess the experience to ensure every shelf is perfectly level, securely anchored, and flawlessly aligned. We understand the specific requirements of floating shelf systems like Oaprire.
- Understanding Central Florida's Unique Construction: Many homes in Orlando and the surrounding areas feature concrete block construction. Drilling into this material requires specialized tools and techniques that differ significantly from drywall installation. Our team is adept at navigating these challenges, ensuring a safe and robust installation.
- Durability and Safety: We prioritize the structural integrity of your shelves. By correctly identifying studs or using the most appropriate heavy-duty anchors for your wall type, we guarantee your Oaprire shelves can safely bear their intended weight for years to come.
- Time-Saving and Stress-Free: Leave the measuring, drilling, and potential problem-solving to us. Our efficient service means your shelves are installed quickly and correctly, allowing you to enjoy your refreshed space without the hassle.
- Seamless Aesthetics: The goal of Oaprire floating shelves is a clean, minimalist look. Our professional touch ensures no visible hardware